Now that we can play a chord, how about playing a scale? The TSW library can also create a list of notes for a scale. Let’s start with modifying our initial playChord function to see how the scale function works:
[cc lang=”javascript”]
function playScale() {
var testScale;
testScale = tsw.scale(‘A’, ‘major’);
console.log(testScale);
};
[/cc]
This function will write the contents of the scale list to the Javascript console. To call this function, we will add a line of HTML to create a new button that will call this function. The button logic in index.html should be changed as follows:
FROM:
[ccie_html]
<p>Press Play to hear how the pitch sounds. <button onclick=”turn_on();”>Play</button></p>
<p>Press Stop to turn it off. <button onclick=”turn_off();”>Stop</button></p>
<p>Start Chord <button onclick=”playChord();”>Start Chord</button></p>
<p>Stop Chord <button onclick=”stopChord();”>Stop Chord</button></p>
[/ccie_html]
TO:
[ccie_html]
<p>Press Play to hear how the pitch sounds. <button onclick=”turn_on();”>Play</button></p>
<p>Press Stop to turn it off. <button onclick=”turn_off();”>Stop</button></p>
<p>Start Chord <button onclick=”playChord();”>Start Chord</button></p>
<p>Stop Chord <button onclick=”stopChord();”>Stop Chord</button></p>
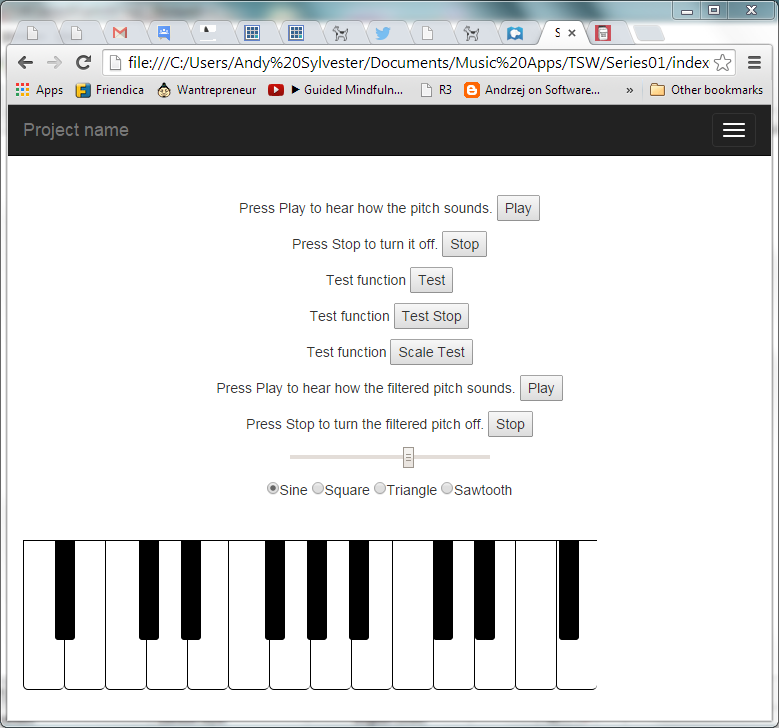
<p>Test function <button onclick=”playScale();”>Scale Test</button></p>
[/ccie_html]
When you click the Scale Test button, you should see the following in the Javascript console:
[“A”, “B”, “C#”, “D”, “E”, “F#”, “G#”, “A”]
We can reuse the functions from part 5 for playing the chord, but we need to give the notes a duration. How do we do that? The Web Audio API sets a timer when a new AudioContext is created. When TSW is being used, that AudioContext is automatically created when the TSW code is loaded in your web page. The way that you can access this timer is through the tsw.now() function. Update the playScale function as follows:
[cc lang=”javascript”]
function playScale() {
var testScale;
testScale = tsw.scale(‘A’, ‘major’);
console.log(testScale);
console.log(tsw.now());
};
[/cc]
Refresh index.html, and you should see something like this in your Javascript console:
[“A”, “B”, “C#”, “D”, “E”, “F#”, “G#”, “A”]
1.1493877551020408
When we play a note in the turn_on function, we use the following command:
[cc lang=”javascript”]
osc.start();
[/cc]
The note starts playing immediately. However, we can delay that start for a period of time by including a number in the parentheses. This number represents the number of seconds after the time that the AudioContext was created.
When we stop a note in the turn_off function, we use the following command:
[cc lang=”javascript”]
osc.stop();
[/cc]
Again, the note stops immediately. As with the start function, we can delay the stopping of the note by including a number in the parentheses. Again, this number represents the number of seconds after the time that the AudioContext was created.
Let’s say that you would like a one second delay in starting the note and stopping the note. We should reference the time being passed in to the time that the command is executed. We can do this using the tsw.now function as follows:
[cc lang=”javascript”]
osc.start(tsw.now() + 1.0);
osc.stop(tsw.now() + 1.0);
[/cc]
If you modify the turn_on and turn_off functions with the above changes, you should here that there is a one second delay when you click the Play and Stop buttons at the top of the web page.
Now, let us create a function where we play the notes in a scale, with each note played for one second, starting one second after we click the button. We could make a table of the times as follows:
[cc lang=”text”]
Note Start Stop
1 0 1
2 1 2
3 2 3
4 3 4
5 4 5
6 5 6
7 6 7
8 7 8
[/cc]
The TSW scale function does not accept a note with an octave (like “E3”). The function only wants a note name (A, B, C, D, E, F, G). To avoid modifying the TSW scale function, we will set the octave in a separate variable. We can then append the octave to the note name generated by the scale function. However, the octave should change when the scale sequences reaches “C” (change octave from three to four, for example).
Here are two functions that will perform the scale:
[cc lang=”javascript”]
function playScale() {
var testScale;
var startTime = tsw.now();
var octave, octave_plus;
// Generate base scale
testScale = tsw.scale(‘E’, ‘major’);
// Set base octave and next octave, then convert to strings
octave = 3;
octave_plus = octave + 1;
octave_string = octave.toString();
octave_text_plus = octave_plus.toString();
// Check for C in scale sequence and append next octave when that happens
for (i = 0; i < testScale.length; i++) {
if ((testScale[i] === “C”)||(testScale[i] === “C#”)){
octave_string = octave_text_plus;
}
testScale[i] = testScale[i] + octave_string;
}
// Play each note in the scale for one second
for (i = 0; i < testScale.length; i++) {
playScaleNote(tsw.frequency(testScale[i]), startTime + i, startTime + i + 1);
}
};
function playScaleNote(frequency, startTime, stopTime) {
var osc;
var oscType = ‘sine’;
osc = tsw.oscillator (frequency, oscType);
tsw.connect(osc, volume, tsw.speakers);
osc.start(startTime);
osc.stop(stopTime);
};
[/cc]
When you click the Scale Test button, you should hear the E major scale starting with E3.
You can also go to the demo of this application and see if you can play the scale.
Download the source code for all of the examples in this series from Github.