
I have been wanting to try out some PHP scripts for posting to a WordPress site from Ton Ziljstra (see this page for background, and Github for the scripts). I have a Windows laptop, and have used WAMPServer on previous laptops so I chose WAMPServer (download link). I noticed when I started the install that there were some Visual C redistributable files that also needed to be installed (see bottom of this page). I went to the release page and downloaded the latest version of the VisualCppRedist_AIO_x86_x64.exe file and used “Run as administrator”. This application installs multiple Visual C executables, and takes several minutes to run. You will see a number of windows open and close. When the installation is complete, there will be a splash screen indicating that all files have been installed. This might be behind other windows, so you may want to monitor the icons in the Windows app tray at the bottom of the screen to see if there is an icon you do not recognize.
After the installation, it is a good idea to run this checking app to confirm that all necessary Visual C files were installed correctly. I ran this and got the message that all installations were complete.
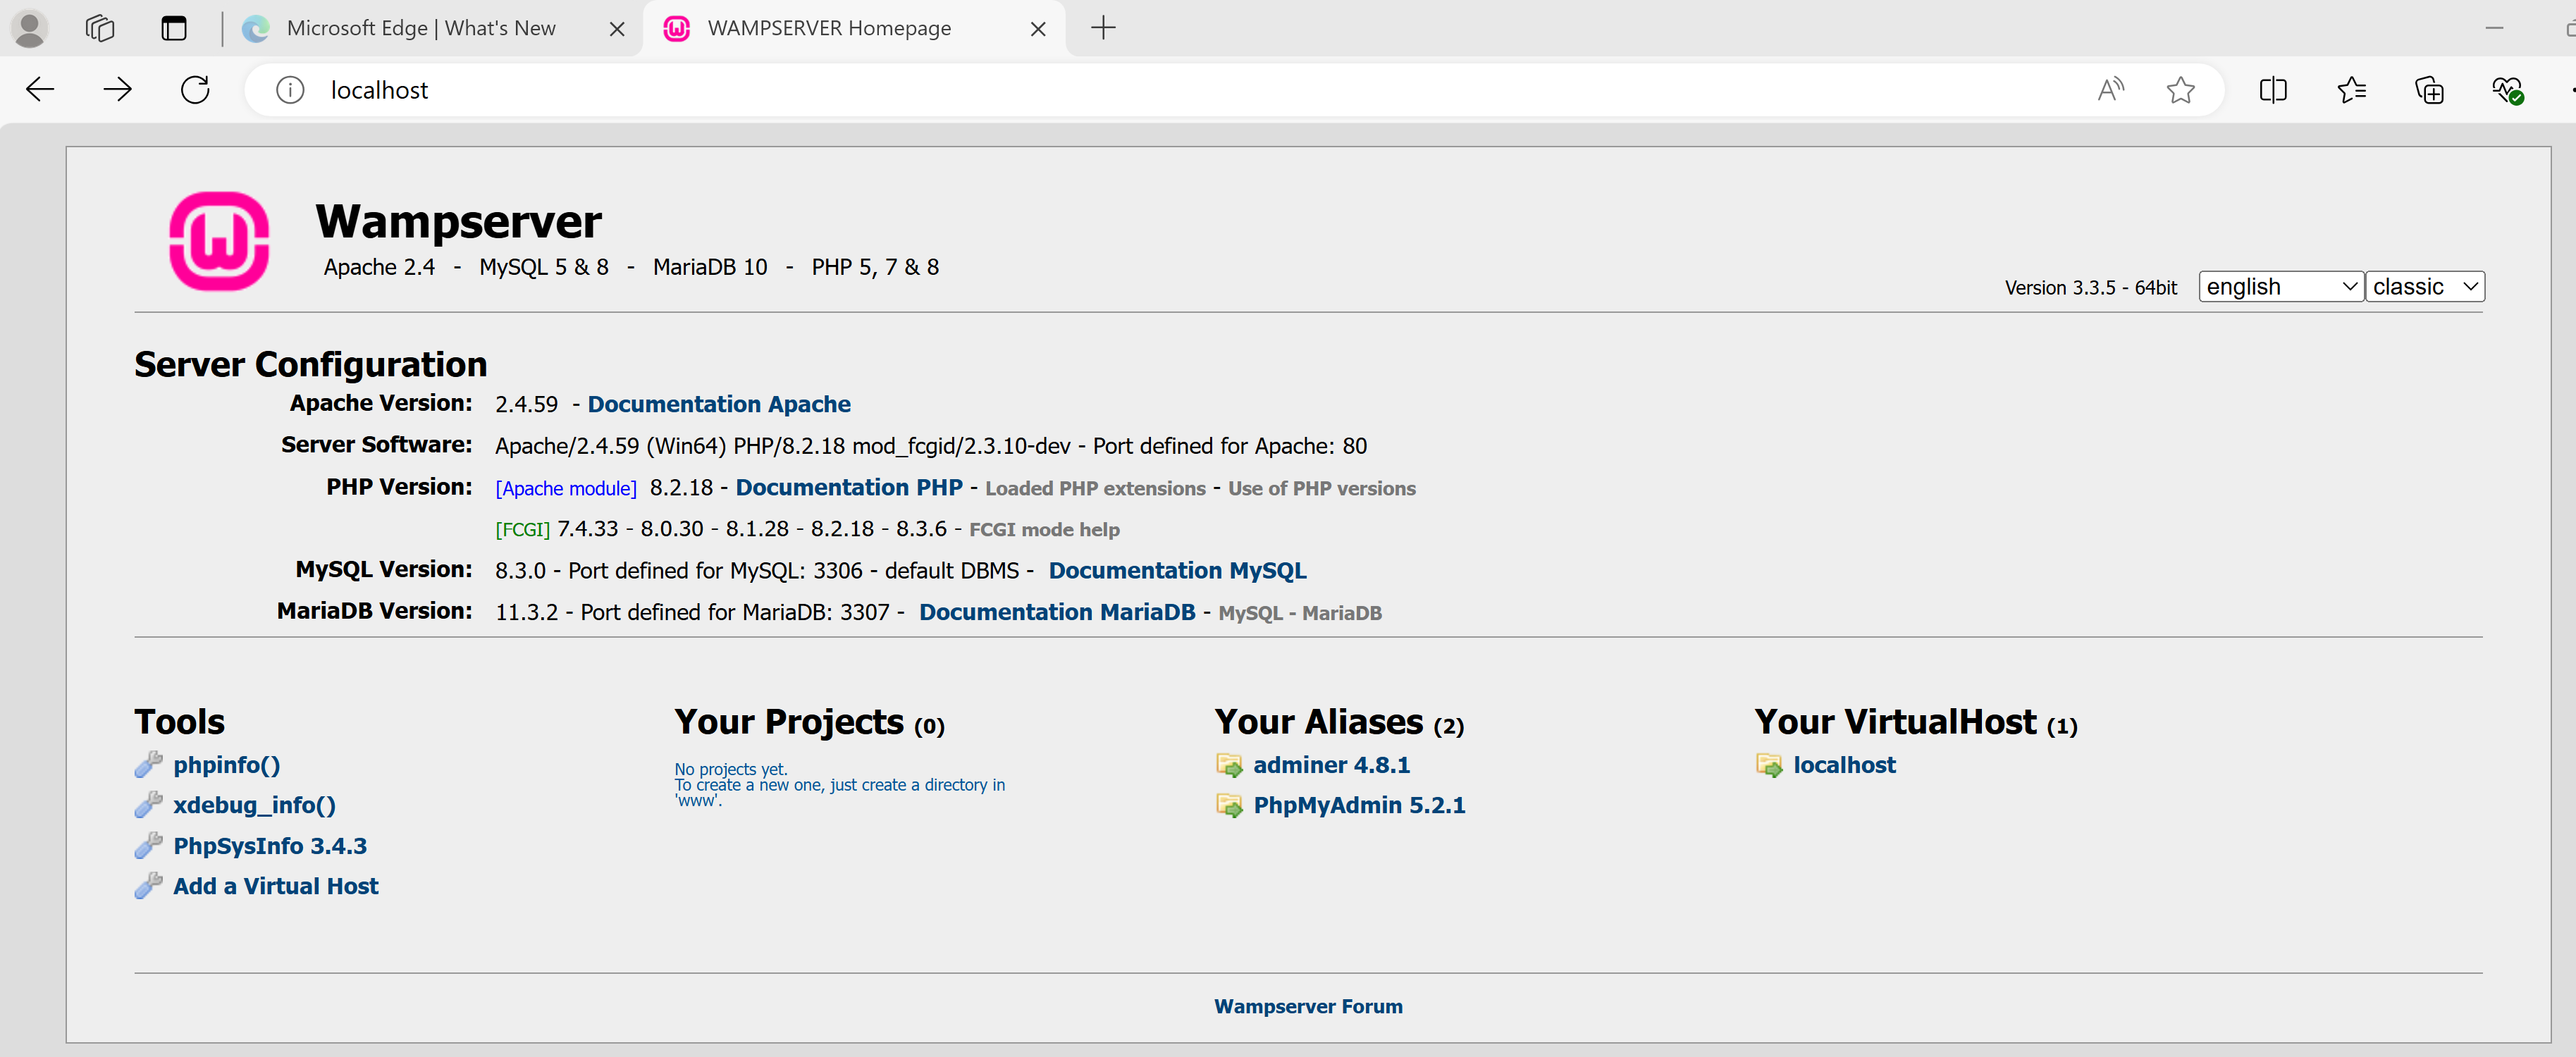
Finally, I started the WampServer installation by double-clicking on the EXE file I had downloaded to start. There are several checkboxes to accept the license, the location of the installation, and default web browser and text editor, but other than that, the installation took care of itself. To start WAMPServer, I double-clicked on the icon on my desktop (titled “Wampserver”). A splash screen indicated after 10-15 seconds that all server apps were running. I started Microsoft Edge and typed “localhost” in the address text, and got a “main screen” with info on the server apps.
Finally, I wanted to create a test PHP file to make sure that the server was working. I used the following source code:
<!DOCTYPE html>
<html>
<body>
<?php
echo “My first PHP script!”;
?>
</body>
</html>
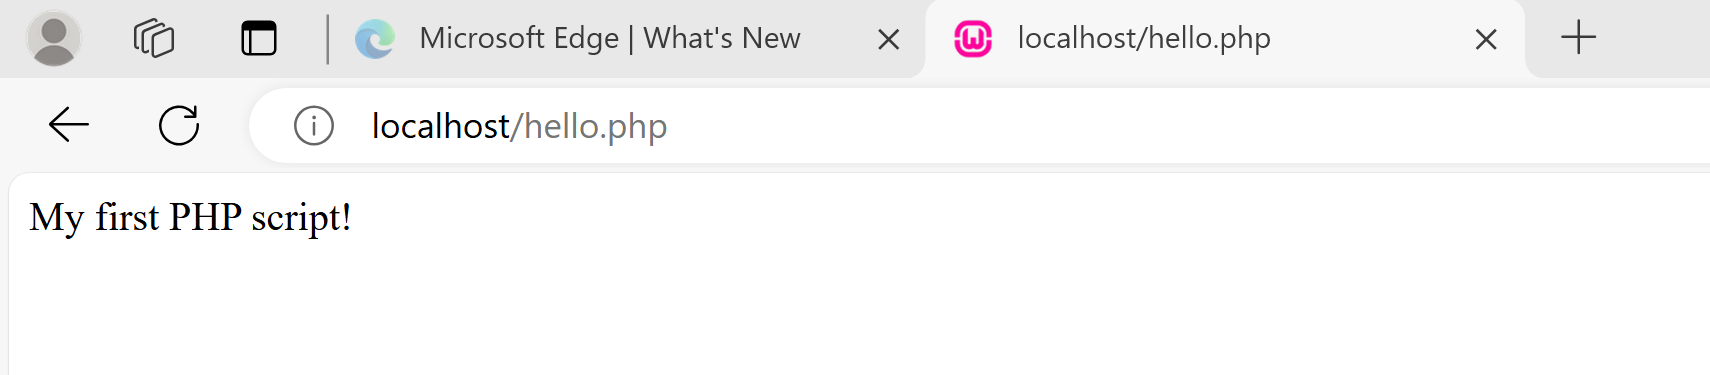
I saved this in a file called hello.php, and copied it to C:\wamp64\www. I then changed the URL in the browser to localhost/hello.php and saw the following:
Now I am ready to start doing some PHP testing!